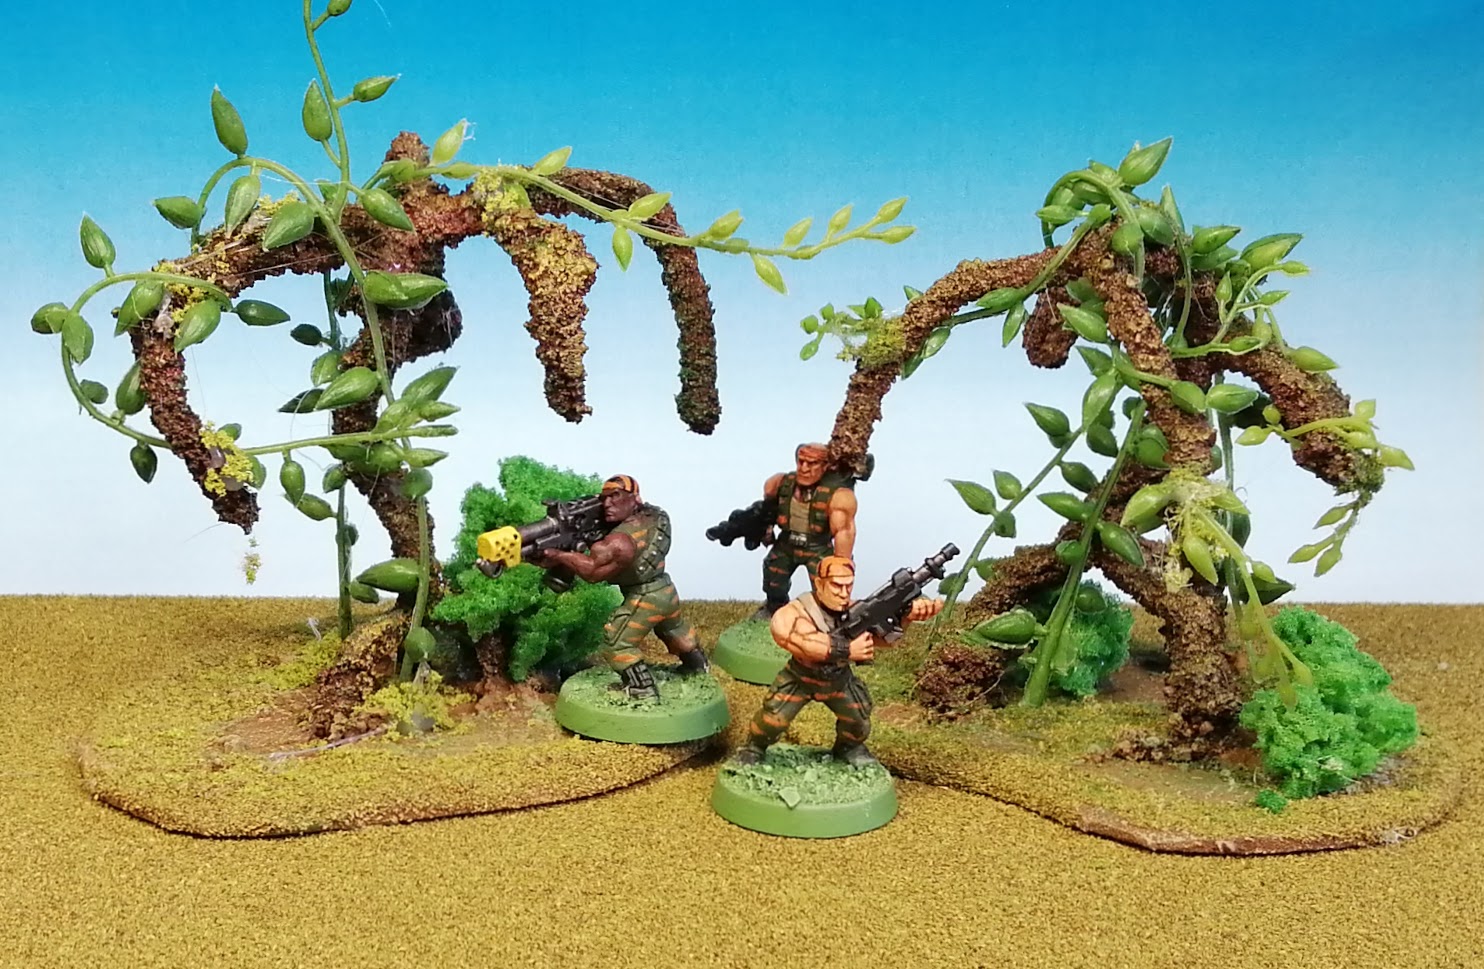
Ever since I saw the above picture in the Catachan Jungle Fighters codex in the 3rd edition of Warhammer 40.000 I have been enamoured with the idea of making a jungle board similar to this.
I envisioned a 4’x’4′ table fully covered in smaller pieces of jungle trees, overgrown ruins and smaller jungel scatter pieces where the jungle fighters would flame their way through… the smaller terrain pieces being replaced by burned out ones with soot and blackened stumps as the game went on.

| 300 pipe cleaners – £3. Potentially 75 odd trees! |
In the following I have added images of the whole process of making Dr. The Viking’s Death World Jungle Trees:
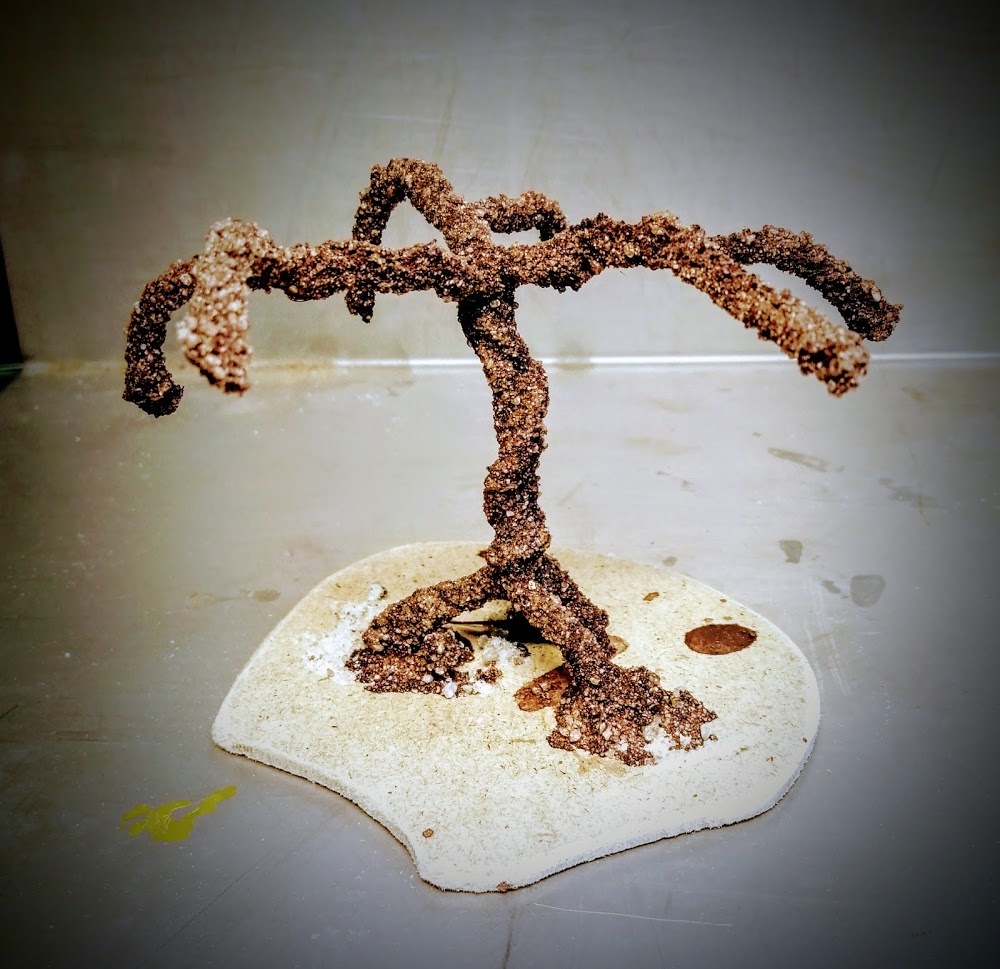
Building the tree

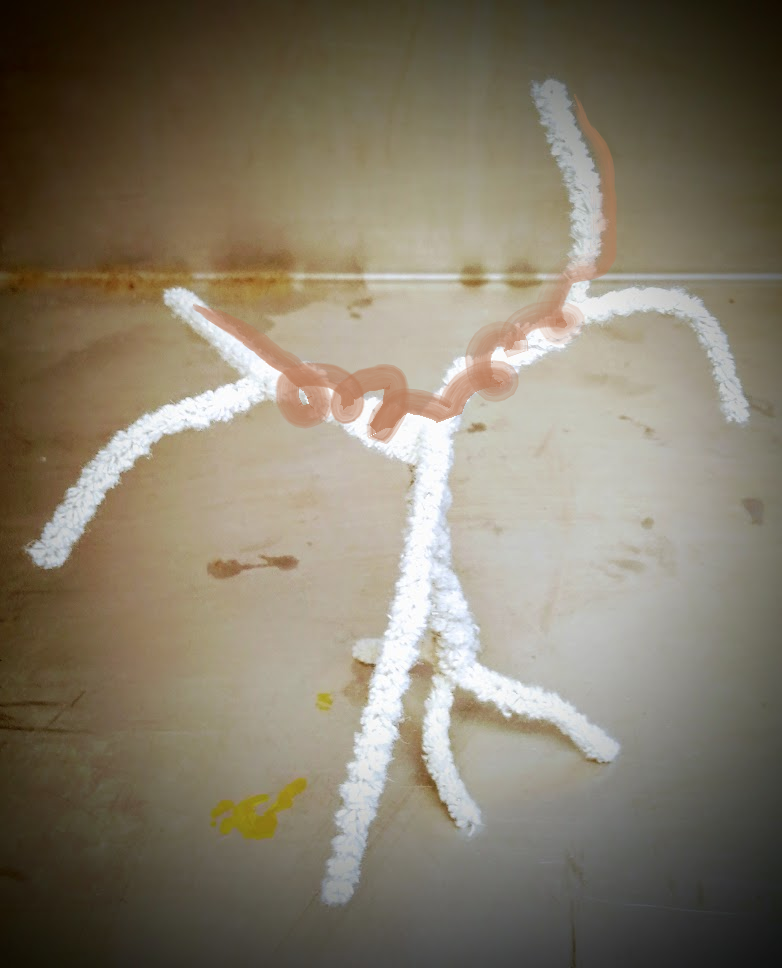
| Step 1: A typical starting point could be 3 pipe cleaners. You could use more of course. It all depends on the size of the tree. |

| Step 2: The cleaners are twisted up roughly 50% of the way, not including the first bit, which will be the roots. |
Step 3: Time for branching out… A fourth cleaner is twisted around two of the top branches, forming addition branches and bulking out the tree.
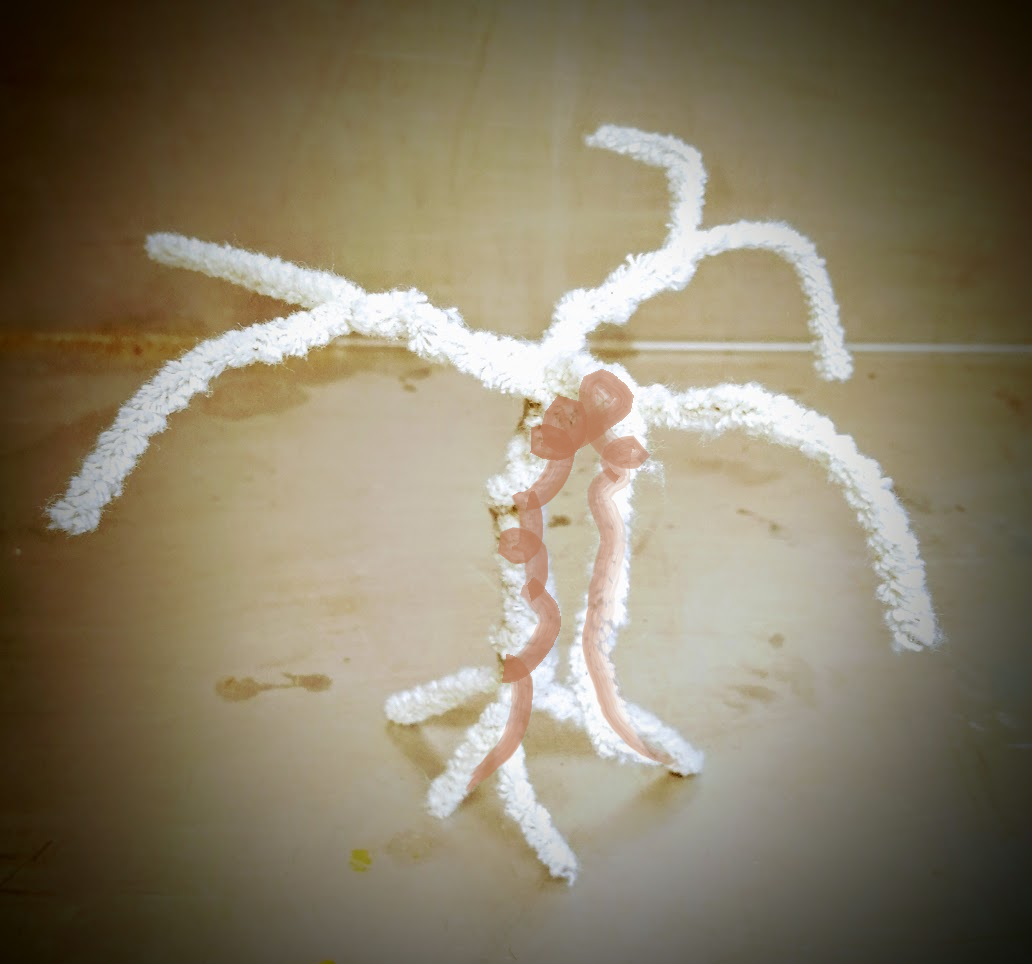
| Step 4: A fifth branch is used to bulk out the trunk and add a last branch.
|
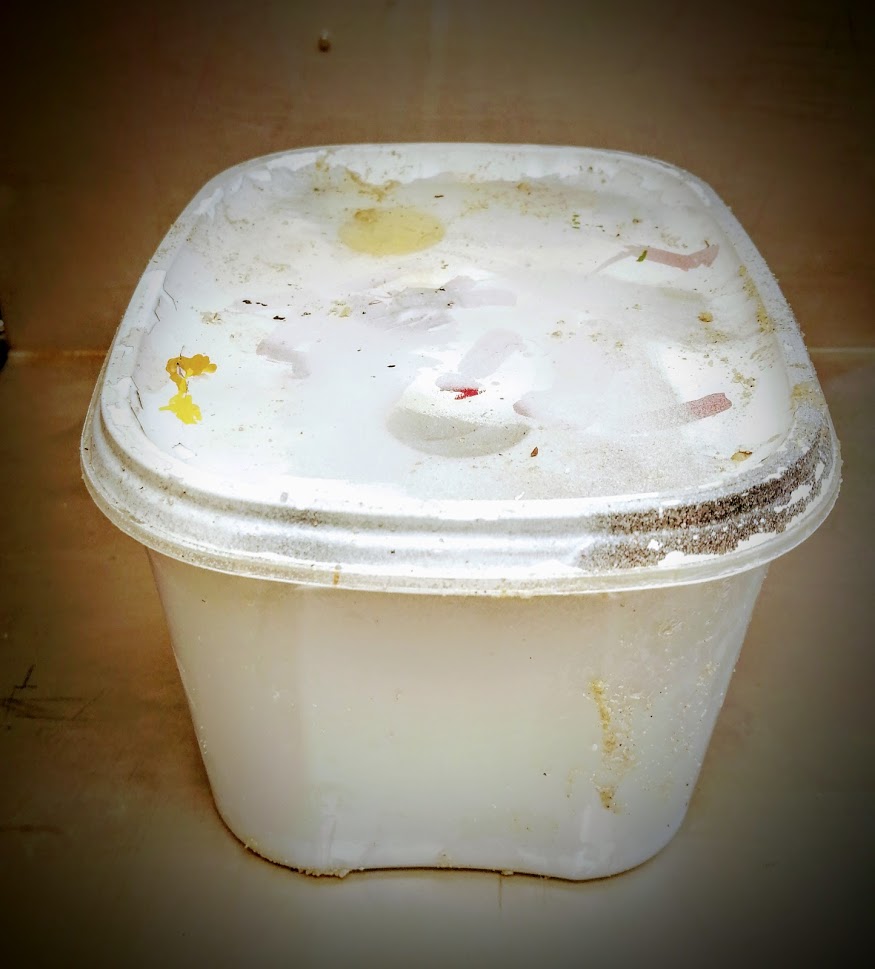
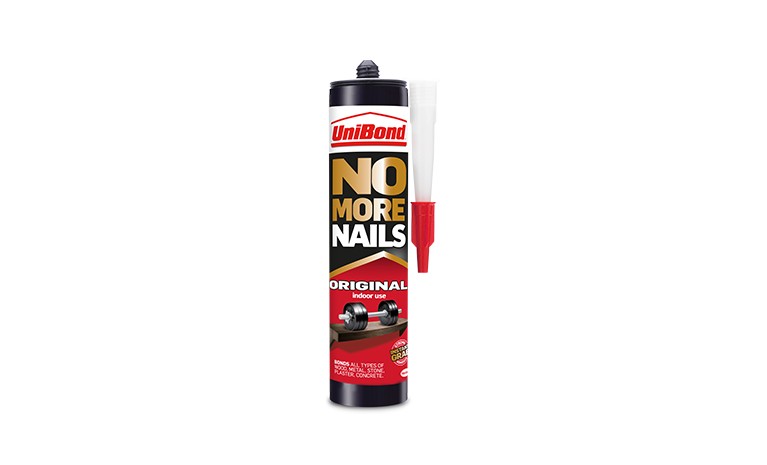
Now it is time to add glue… Painting it on would have been a chore, so instead I exploited a sealed box with approximately half an inch of 1:1 No More Nails(NMN):water mixture. You could use PVA instaed of NMN but I found that it kind of fell apart again in the later steps… whilst NMN stayed strong.

Step 5: dunk the tree in the NMN:water mixture and close the can. Give it a good shaking. This would cause the whole tree to get covered and soak the NMN. Keep some kitchen towel handy as this can get messy.

Step 6: Sanding the tree. Once the tree is soaked in NMN:water mixture it is put in a container holding sand, and sand is sprinkled all over the tree. You will find that after a minute or two the NMN:water mixture will have bled through the sand and a consecutive round of sand can be added if you so wish. It is imperative not to touch the wet tree too much as the sand easily comes off at this point. Once filled with sand, allow it to dry overnight. It is best to let it dry on a smooth plastic surface so that you can easily remove it afterwards.

Painting and detailing the tree

For my use I decided on a umber brown base colour, drybrushed with greengrey and then some flock sprinkled on it… after all every part of the jungle is overgrown with stuff.
Step 1: The tree is painted brown. I used diluted crafts paint Raw Umber. Once the tree is soaked with the paint be careful not to scrub off the sand… as mentioned above using No More Nails (no, I am not endorsed by them) really eliminates this problem, but if you are using PVA expect the sand to be fairly easily removed.

Step 2: The base is now covered in a “gloop” – in my case a mixture of caulk, NMN, paint, water and sand. It should have a failry viscous consistency. And not too much sand… just enough for your liking. I went with brown based gloop for these pieces.
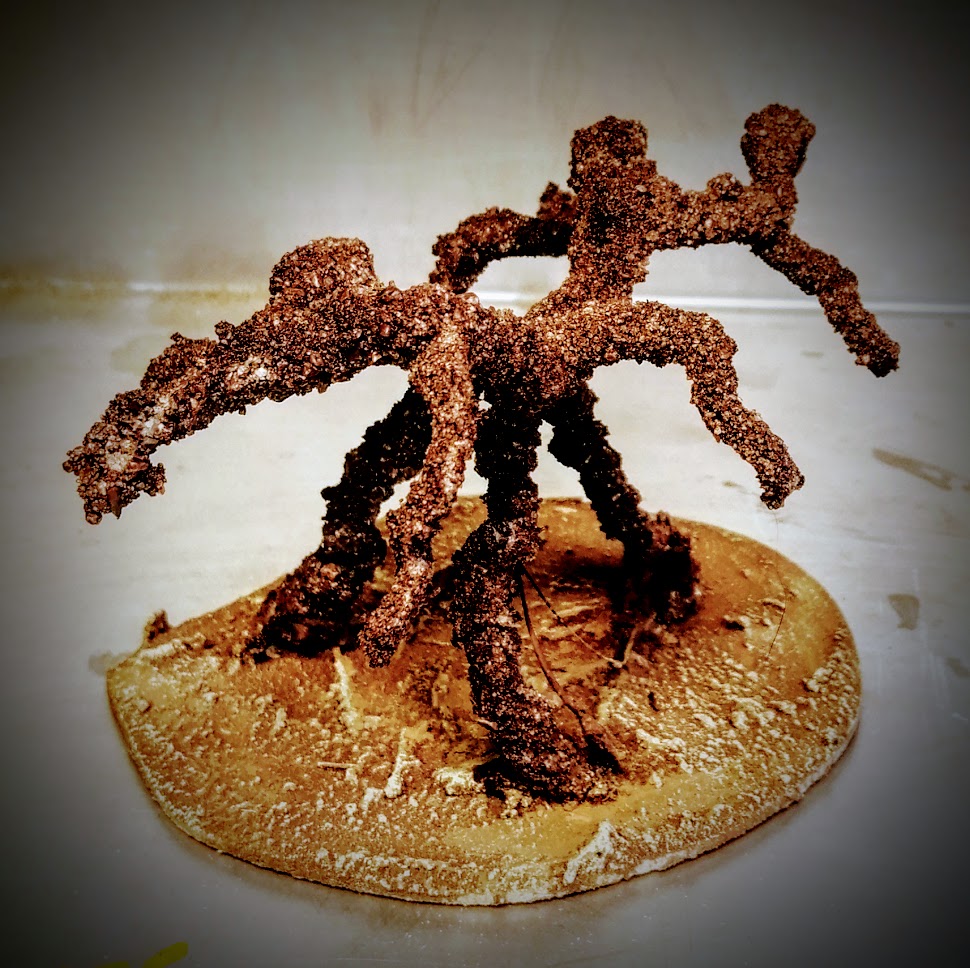
Step 3: The base gets a drybrushing with a brownish paint called “Mocca” and then a buff paint. After this, apply various flock and scatter material all over the base using diluted PVA.

Step 4:I paint the trees by drybrushing them with burnt sienna (left image) followed by dashes of green and yellow ochre (right image). I try not to be too particular to give them a bit of different colour play.
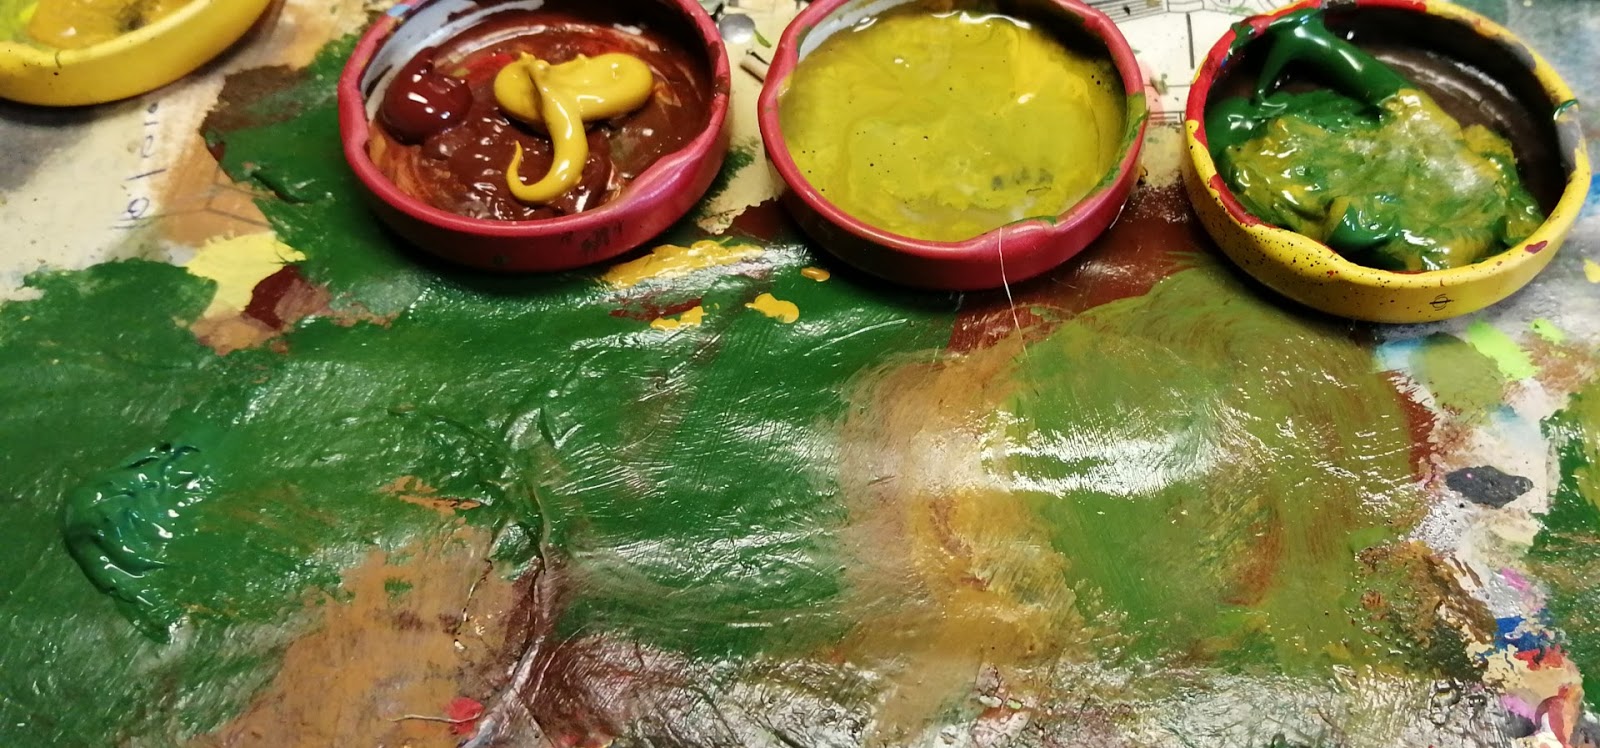
| Here you can see the “palette” I used when drybrushing the trees.
|

Step 6: Very important – after all is done, give the trees a dusting of diluted PVA glue. This will help fix all the scatter in place and stop them from flaking.
The following was made with around 100 pipe cleaners and shown in various stages:


[…] of being able to remove all the terrain and replace it with burnt out pieces (as pitched in the original post). However, there is no reason to let an idea stand in the way of another idea. […]
LikeLike