I am playing a narrative campaign with a few Dwarf players (friends) and so far we have had five battles. This is a brief description of the sixth battle. The campaign is described here (always available from the top menu too): Khardon Island
The Dwarf army had made it over the Bridge of Doom, and saved its scouts from the evil rituals of the demon necromancer Bhürzhüm. Now they were making their way through a dark and gloomy valley. Suddenly the sides of the valley became alive with the glowing eyes of hordes of skeletons. Arrows of purple death started raining down on them. Up ahead a cave entrance could be clearly seen. Being naturally inclined to the life under ground, the Dwarfs quickly decided that their best strategy would be to fight the enemy from a makeshift fortification in the cave, rather than hunkering down in the valley. A death run towards the cave started, with the Undead hot on their heels.

Scenario
The scenario we played was a home brew. The Dwarfs were making their ways towards the caves, when suddenly the hills started crawling with the dead. Instead of making a hopeless defence in the valley, they try to push through to the caves on just up ahead.
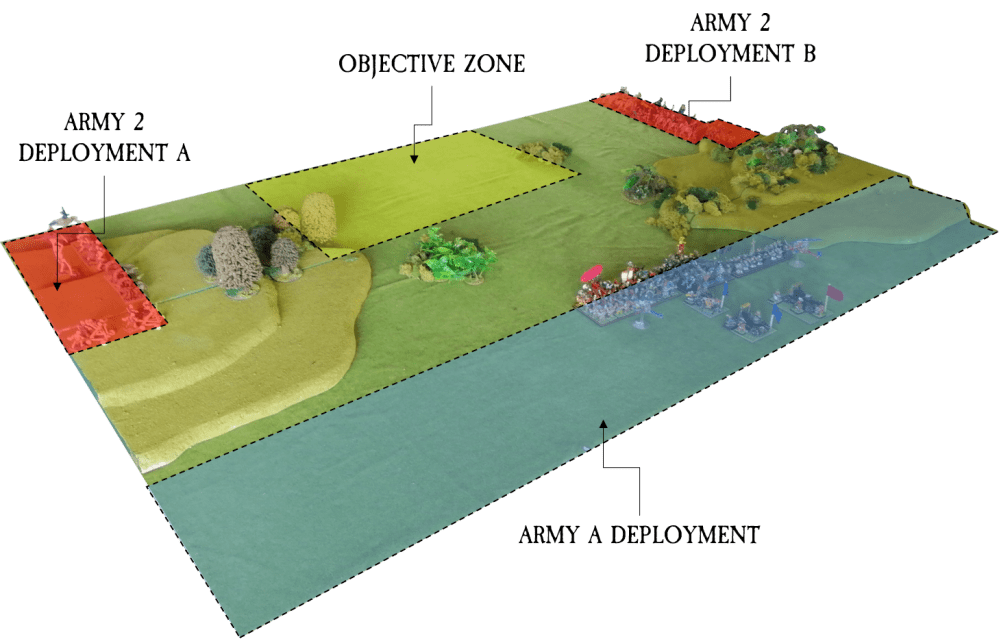
Objective: The army with the most units of 5 or more completely within the yellow objective zone at the end of the game scores the objective. The objective zone is 12” x 24″ and centered on the long edge.
Deployment: The ambushing army deploys in two narrow lanes of 6″x12″ in on the small edges. at the same side as the objective zone. The ambushed army deploys 12″ in from the table edge opposite the objective zone. On a standard table that would mean there is 24″ to the objective zone for the ambushed army and 18″ for the ambushing army. If the ambusher cannot fit all of his army in the deployment zone it will come in as reserves from turn 1 by moving in from the board edge of the zone.
The ambushed army sets up first, and gets a +1 to the roll to start.
Armylists
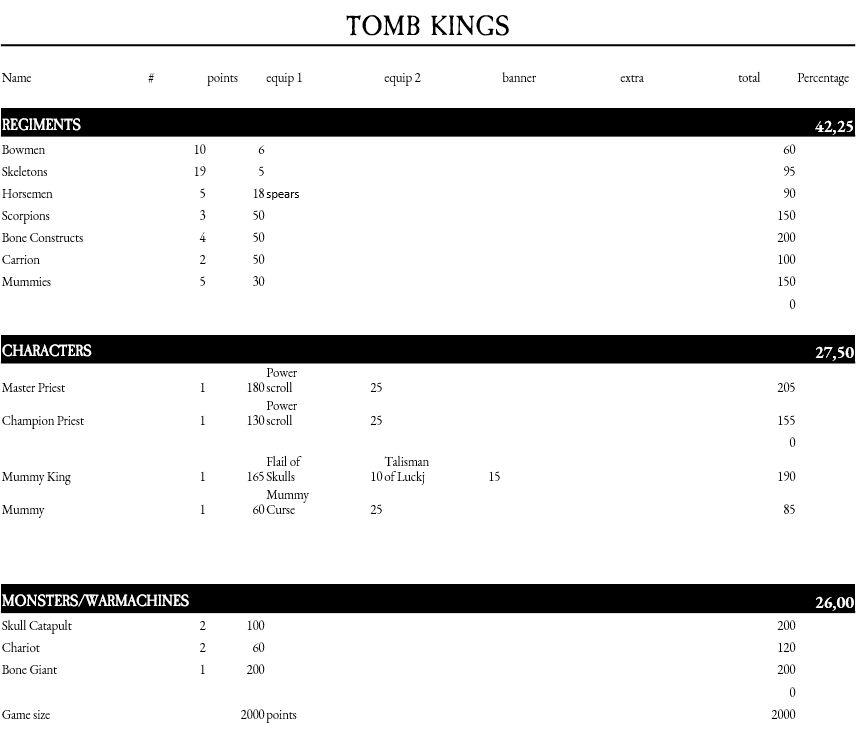
This time I went with a bit more warmachines than normally, and this actually took me below the 50% troops mark.

Deployment

The scenario did not particularly aid the Tomb Kings, as they were forced to split up their army between the two sides (they were too narrow to fit it all). I had to make a choice – what to strand. I wanted my chariots in support of the main regiment of skeletons, so that was no good… although – they can’t march, so in a sense they probably should have replace the giant. In the end I chose to let the giant guard the catapults and place the Ushapti and the Scorpions out of range of the general, as they can march either way.
The Dwarfs packed their army close and made ready for a gambit down the middle.
The Battle
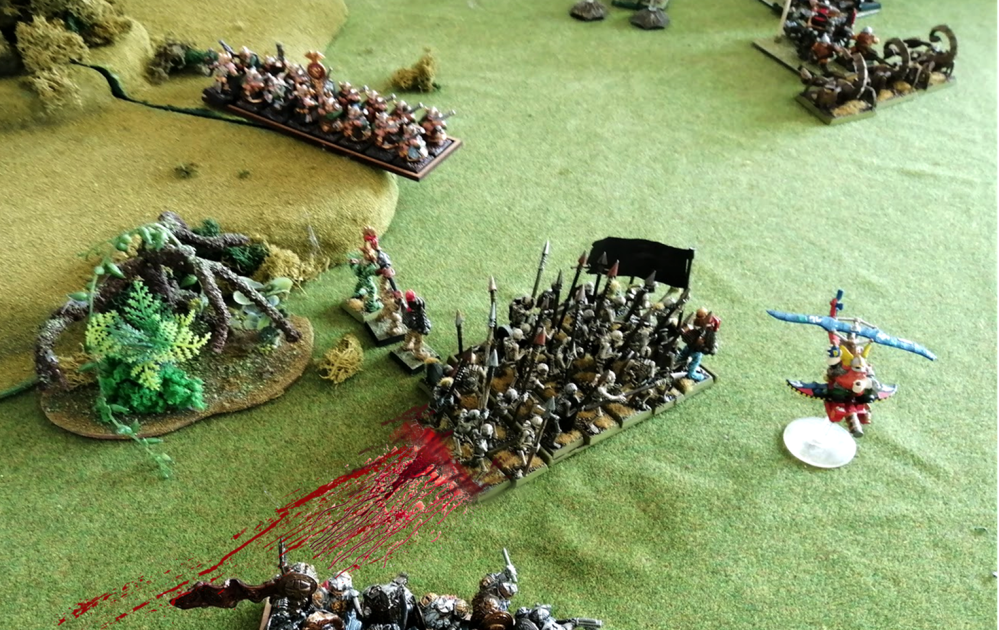
The Dwarfs won the roll to start and then we were off. The first turn saw the catapults hitting the skeleton regiment for 9 skellies, and missing the chariots by 10″. The gyrocopters went for the flanks, with no flying high (lesson learned). Everything else proceeded forwards.

The Undead also scuffled forward with everything. The Scorpions had their minds set on getting to the Dwarf artillery park, while the rest trying to move towards the objective to block it. The mummies had to turn and face the gyrocopter to minimise the template efficiency. Looking at the images now, I realise that I forgot to deploy my archers. Oh well.

The Dwarf shooting was merciless in this game. The thunderers were flying the Flaming Standard meaning that their attacks counted as flaming (and magical). Hence, the mummies were a hot target for them as they are flammable. The Dwarfs were hitting like snipers! But to little avail as the Mummies’ toughness of 5 saved them from the worst.

With a move of 7 and being alive, the scorpions quite quickly made it forward and could easily make it to the Dwarf ballista in a couple of turns. The Carrion assisted them in taking out the artillery, and charged one of the stone throwers from up high.

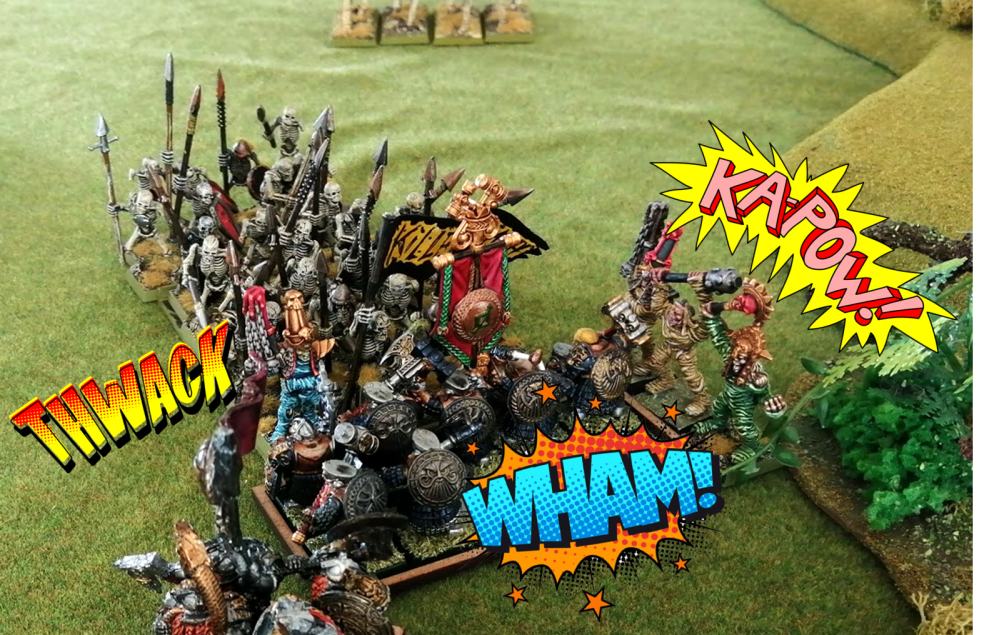
After turn 2 a nice close situation was arising. I had played my cards right and managed to get my main regiment into combat against the Hammerers, while being flanked by the remaining Mummies. This was a fight I couldn’t lose, and sure enough, with a few casualties on both sides the rank bonus of the Undead decided the outcome. The Dwarfs automatically broke from being outnumbered by a fear-causing enemy.
To my dismay the Skeleton Warriors were so riled up that they ran 11″ forward! That was not what I had intended and it kind of stranded them quite a bit away from the important part of the game. The mummies were better off and landed just within sight of the Thunderers.
The Dwarf gyrocopters were making a hell of a show this game, and racked up scores of kills against the dead. The Undead Priests were mostly able to restore the damage, but it did mean that most of my magic ended up being used this way. The Skull Catapults were a lost cause and so I redirected the Bone Giant towards the objective after turn 1, as I realised it could never catch the gyrocopter.

A stone thrower had taken my one chariot down to only 1 wound, so I decided to sacrifice it in an attempt to take out some Iron Breakers. Being a light chariot with S4, this did not amount ot much. Also I didn’t have any scythes on it, as I didn’t have the points. So the impact was quickly over and the Dwarf general sporting a HYDRA SWORD finished it off.

The game was moving towards the closing chapter. My skeleton ogres (Ushapti) had been caught by the Iron Breakers, and I had sent in the Bone Giant to assist. The hydra sword made history of the Skeleton Ogres at an alarming rate, while the Bone Giant managed to kill a few Dwarfs.
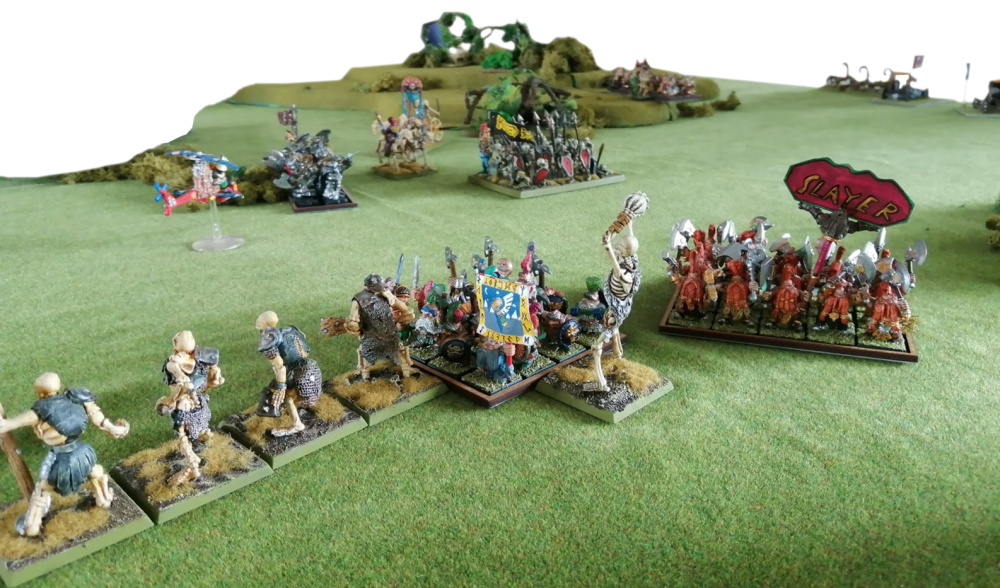
I knew the Slayer charge was coming, but I had hoped that combined with the Giant (giving me the flank bonus) I would be able to break the Iron Breakers, by taking away their ranks and killing some. But the hydra sword made 18 hits resulting in just 1 ogre with 1 wound left standard. The slayers charged, and the Giant failed to hit anything at all in following rounds. The Slayers made quick work of the giant and the combat was lost.

I tried to get my Skeleton Warriors into the zone with Vanhels’ and my horsemen also rode there, and got bumped up by Raise The Dead to be scoring. However, when turn 6 ended, it turned out that I had failed in judging where the zone was so none of my regiments where completely within, while the Slayers and the Iron Breakers were. The Dwarfs therefore won the game objective. And the score was 1835-749 to the Dwarfs.
Conclusion
I must admit that I was pretty unfocused this game. My opponent (Mark) allowed me to make numerous after thoughts in the form of forgotten movement, forgotten charges and so on. I think it was because at the last minute we decided to move the game from my place to his. So I got thrown off somewhat.
The main objective was to get to the zone… but as I had only two units of 5 or more models, my odds were quite bad. I had to get rid of some of those Dwarfs. The crushing pincer move never came, and my big guys in the form of the Giant and the Ogres were more or less wasted. You can’t Vanhel or restore wounds on these guys, so they are often lame ducks.
I really like the units in the Tomb King army though and especially the Chariots, the Giant and the Scorpions are cool from a theme view. The fact that there are Mummies also really helps. The cavalry is a waste of space in this army, which is sad a they’re a big part of the theme… At least all I see them do is to be ablative wounds for a Priest. But somehow I guess that is “fluff vs rules”.
I think the Bone Giant is a cool idea and it is the only model that can cause terror in the army. It is not mega important against Dwarfs but I guess it might be cool against other armies.
The current rule for magic do not really fit well with the Tomb Kings. Read as written, they’re allowed to summon zombies, and can’t really restore wounds on any constructs in the army, contrary to the original rules.
Thanks to Mark for playing and kudos for his clear headed Dwarf generalship. I can’t wait to play the next game which, I have decided, will take place under ground in THE LAIR OF THE SPIDER LORD.

[…] Khardon Island, Game 6 […]
LikeLike